Tuesday, October 29, 2013

Stuffed Local California Squid in Tomato Sauce

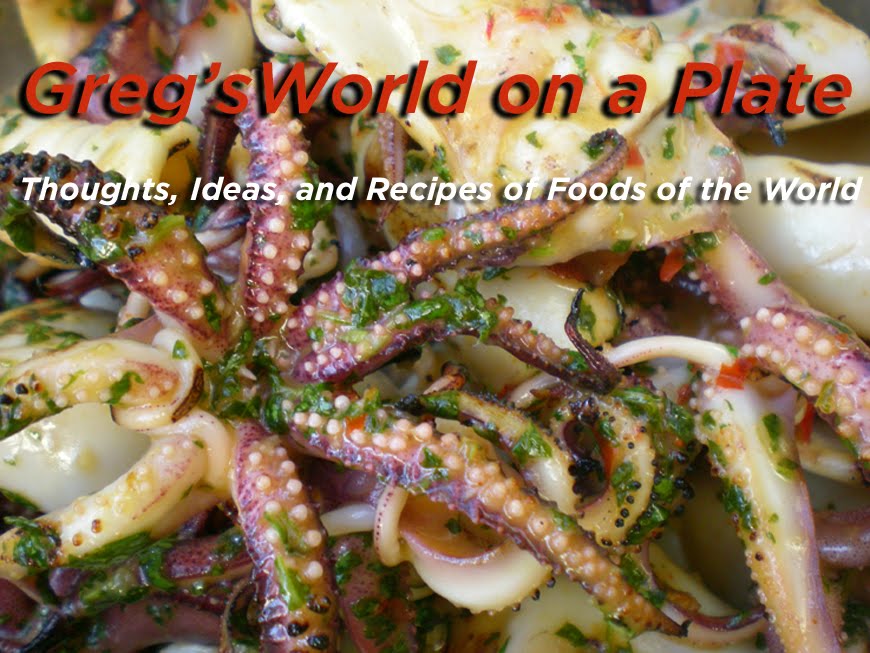
Fresh Monterey Squid


Making Heirloom Tomato Sauce

Squid Simmering in Tomato Sauce

Braised Stuffed Squid in Heirloom Tomato Sauce

On a recent visit to one of San Francisco's Asian neighborhoods I noticed fresh local squid available in the market, so I bought a few pounds to take home to cook. These little sea creatures come from an area in the United States where they are very plentiful- Monterey Bay, California. Because of their vast numbers it's OK for them to be harvested without hurting their species or the environment. These squid are seen on most restaurant menus everywhere, often served fried with some kind of dipping sauce. Tonight my idea is to stuff the tube-shaped body and slowly cook them till tender in a spicy fresh tomato sauce. It was a little time consuming to clean, stuff and cook them but I was rewarded with a very flavorful dish.

Stuffed Squid in Tomato Sauce
Ingredients:
1 pound fresh squid or pre cleaned tubes and tentacles 
1/2 cup cooked plain rice
1 T fresh herbs, chopped (Parsley, etc)
1 T garlic, chopped
2 cups heirloom or roma tomato, diced
3 T Olive oil
2 cup white wine
Toothpicks

Method:
1. Clean squid by removing tentacles from head and cleaning out tubes really well.
2. Mix some of the herbs and garlic into the rice.
3. loosely stuff the tubes with the rice mixture and secure with toothpick.
4. Make a tomato sauce by sauteing garlic and tomatoes in olive oil.
5. Add white wine and rest of herbs, simmer till saucy.
6. Add all squid and cover pan, cook on low heat for about 20-30 minutes.
7. Remove cover and continue to cook till the liquid reduces to a slightly thick sauce.
8. Remove toothpicks from squid and serve with the sauce.

Note: Great along side Pasta or risotto.

Edamame, Fresh from my Garden

Soy Beans 
Soy beans are found everywhere now and not just at your local Sushi bar. A native of East Asia that is commonly used to make soy sauce and tofu, has now migrated to many forms including soy oils, soy milk and the list goes on. I have found that these beans are super easy to grow and will produce mature beans in about five weeks. Put them on your garden list for the next growing season.

Saturday, October 19, 2013

Cool Weather Cooking


Slow Cooked Red Wine Chicken

Winter comfort foods are best cooked low and slow which translates to cooking at a low temperature for a long time. Tonight that's just what I did with organic chicken thighs, fresh herbs, aromatic vegetables and red wine. Slowly cooked till tender with a rich flavorful sauce spooned over white corn polenta. Perfect.

Friday, October 18, 2013

Fried Green Tomatoes


Right off the Vine

Spiced and Soaking in Buttermilk

Frying to a Golden Brown

Grilled Bread with Green Tomatoes, Arugula and Bacon

This is a classic Southern Summertime staple -fried green tomatoes. These are simply green, unripe tomatoes that are coated with some type of batter or seasoned flour and fried till crispy brown.
The tomatoes can be harvested unripe any time during the growing season, but often in the Fall when the last of the tomato crop will not have time to ripen is the best.  The green tomatoes are firm with a slight tangy to sour flavor and will remain firm and not soggy when cooked. My idea was to pair these classic fried tomatoes with the classic BLT sandwich, with lots of good flavors and textures.
I treated my tomatoes to the same process of my fried chicken. I sliced them thick to soak in buttermilk and a southern dry-spice mixture, then dredged them in a spiced cornmeal-flour mixture. Next fried in vegetable oil heated to 350F till crisp and brown, drained and sprinkled with salt.

Fried Green Tomatoes
Ingredients:
Green unripe tomatoes, sliced thick
Buttermilk to cover
Kosher salt
Fresh Cracked Pepper
Cornmeal
Paprika
Cayenne pepper to taste
Vegetable oil for frying

Method:
1. Soak the tomato slices in buttermilk and spices for a few hours.
2. Heat vegetable oil to 350F in a deep heavy pot.
3. Toss the tomato slices in cornmeal and spices.
4. Fry the tomatoes in small batches till golden crisp.
5. Remove and place on wire rack or paper towels.

Note: Serve right away with a dusting of salt.

Thursday, October 17, 2013

Late Season Baby Squash Blossoms

A Farmers Market Bundle of Baby Squash


Baby Squash with Heirloom Tomato Sauce
It's amazing that these Summer baby squash are still available this time of the year, so I had to buy them before they are done for the season. These small, tender squash still have the flower blossoms attached which are great stuffed.  I decided on a quick saute with olive oil and fresh herbs set on a pool of home- grown heirloom tomato sauce. Simply amazingly good and a perfect first course.

Sunday, October 13, 2013

Almost too Hot Pepper Sauce

Habanero Peppers
Cooked and Ready to Blend

Prawn Ceviche with Habanero Salsa

The saying goes "When life gives you Lemons, make Lemonade" well when I get Chilli's I make Salsa. A friend of mine recently gave me a big handful of his home grown Habanero peppers. They were small and bright orange like little fiery pumpkins. After many years of eating salsas I have developed a appreciation for the flavor of the peppers that goes beyond the heat they produce, that's good because Habanero peppers are high on the scoville scale, a number scale of how hot peppers are. 100,000-350,000 for Habanero while the common jalapeno is 3,500+. When I make cooked Salsas I use my normal recipe of simmering them with yellow onions and garlic in white vinegar with a touch of sugar and salt, then carefully blending and straining. This salsa turned out great with really a good fresh chili flavor up front and with a mouth numbing burn starting slowly to becoming intensely hot after a few minutes, did you know drinking milk is a great way to stop the pain?

Habanero Salsa
Ingredients: 
2 cups Fresh Habanero chili
1/2 Yellow onion, diced
3 Garlic Cloves, rough chopped
1 cup White vinegar
1/4 cup Sugar
Pinch Kosher salt
1 Tomato, chopped (optional for a more saucy texture)

Method:
1. Simmer all ingredients for about 30 minutes till soft.
2. Carefully Blend till smooth, add water to thin if necessary.
3. Use a medium wire strainer to remove any large bits or seeds for a smooth sauce.
4. Refrigerate for up to a month.

Note: Always wear plastic gloves when handling raw chilies and don't touch your Face!